We took advantage of the glorious weather yesterday and started working for real on our spring To Do list.
After losing a couple of buckets of sap to an over-curious dog, we still were able to end up with 6 pints of syrup. Yum! To see how we boil, check out the links in the sidebar. It's an all-day and very smoky affair. We make an event out of it.
While we were outside, I planted some peas, favas, radishes and arugula. It's supposed to be warm and rain for the next 6 days, so the soil should be just right for early peas.
Lily prepped the milk jugs so I could plant the tomatoes, pepper, eggplant, huckleberries, leeks and onions so they can get a head start on the season. I tucked everyone in a small cold frame with a glass top.
Lily and I also inspected The Bees That Lived. It's a tiny colony. 1/4 the size of a medium box - about the size of a nuc. I think the reason they lived is that we had a well ventilated quilt box on them. They still had a deep full of honey below them, but we're switching to all mediums so I pulled the deep and set it aside and condensed the hive space. We saw the queen - beautiful!, made sure they had enough honey [plenty in the medium], put a pollen patty on top and some extra sugar blocks. The brood was a tiny patch the size of your fist in 2 places. They are slow to build up. At any rate, now they have less space to defend and plenty of stores. Let's hope the queen gets her act in gear and starts cranking out eggs.
I had set an unused quilt box on a stack of empty mediums and covered it up completely for the winter. When we opened it, it was completely saturated with moisture and molding like crazy, even though it was filled with cedar and over an unheated stack of supers. Good to know! These quilt boxes are great - as long as they are ventilated! I used regular construction shims/wedges to prop up one end of the inner cover I put over the quilt box on the bees. Must have been just right because I didn't see any moisture or mold over the bees.
Lily and I took our first pings of the season. That deep of honey I set aside started a bout of robbing. My girls were pretty defensive and while we were taking care of things, I got pinged on the arm and neck and Lily took one on the ear. I had to wet blanket the hive and that took care of it. The rain the rest of the week should dampen any pillagers' spirit and leave my hive to build up - I hope.
Afternoon update: I checked the girls this afternoon. All quiet on the apian front. Thank heaven.

Showing posts with label maple syrup. Show all posts
Showing posts with label maple syrup. Show all posts
Wednesday, March 9, 2016
Wednesday, January 27, 2016
Time to Tap the Trees
 It's just about that time again. Time to tap the maple trees and start gathering sap for syrup. And syrup means SPRING.
 Spring is good. So is homegrown, home made, maple syrup. We finished our last bit this week and there was much sadness in Mudville.
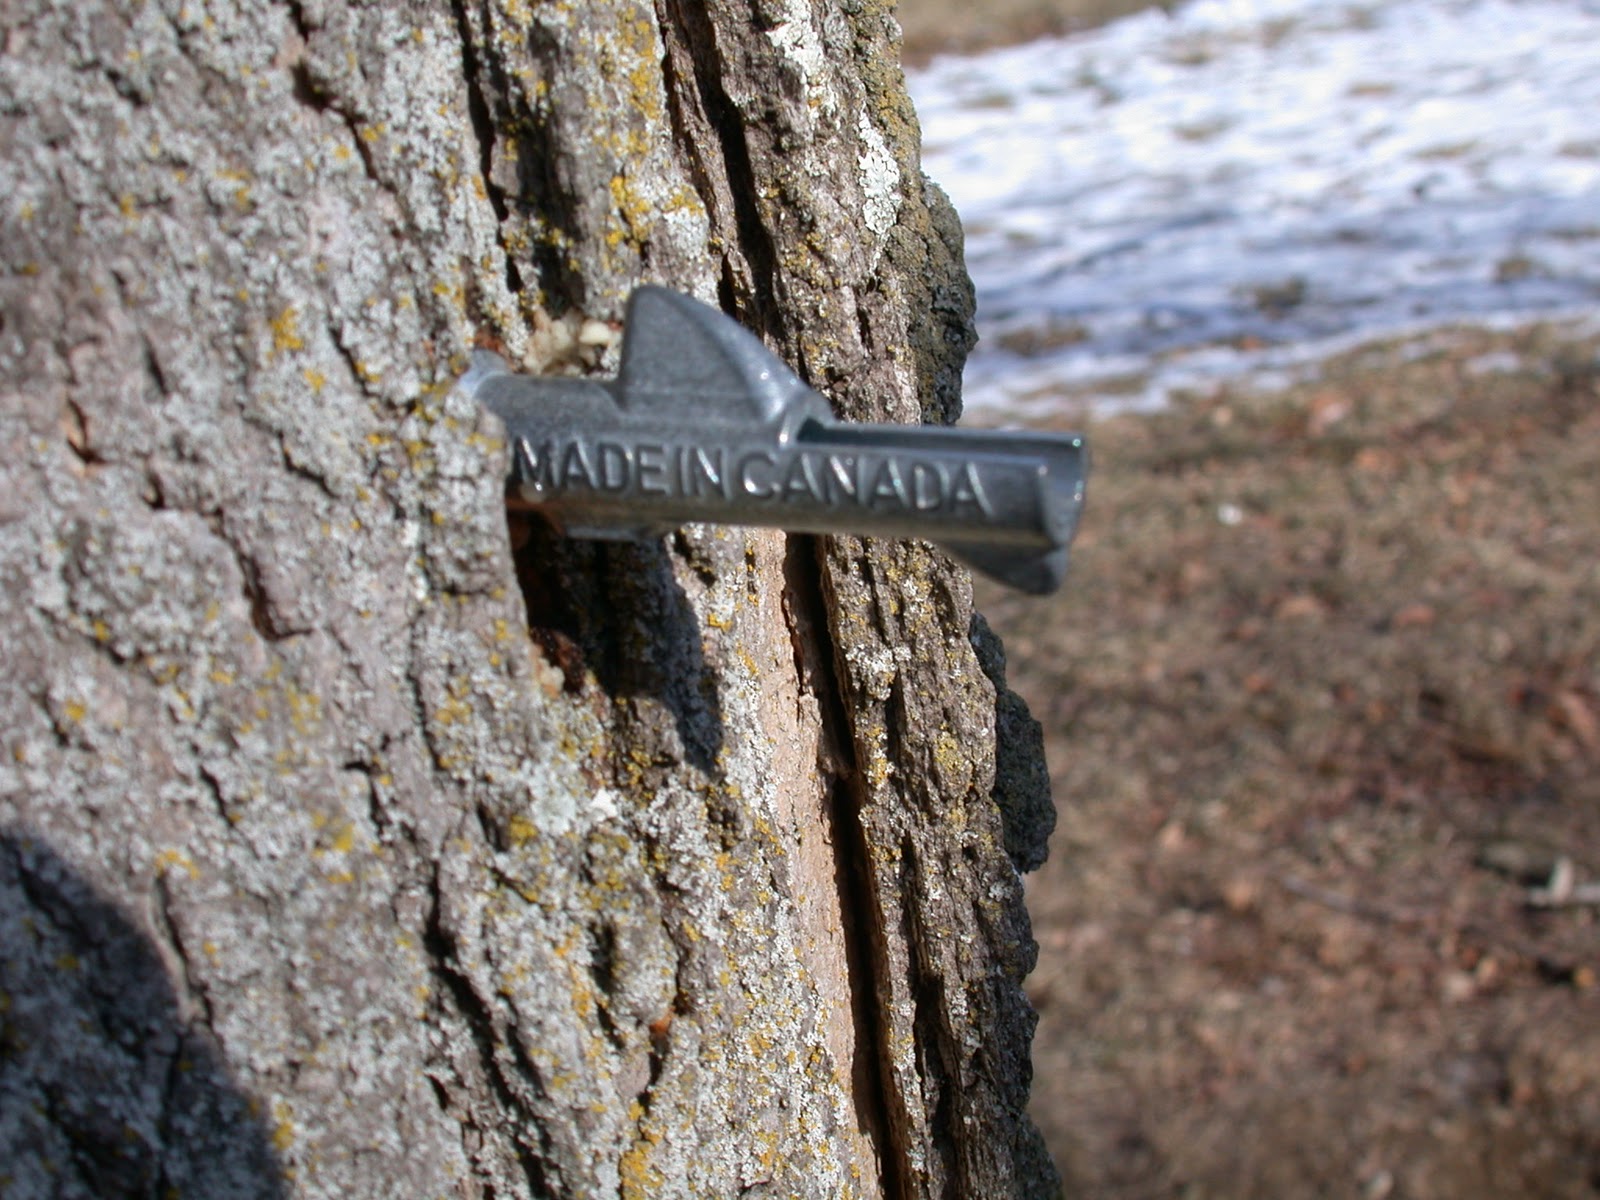
Our old blue sap bags wore out last year and we moved to a tube and bucket system. Behind the bag in the pic, you can see what I'm talking about. That's what we'll be putting in in the next day or so. I'll try to get some pics of how exactly this works.
For more links about how we do this, check out this post.
Wednesday, January 14, 2015
Thinking about Maple Syrup Season

It's time to start thinking about maple syrup season so that you've got your stuff prepared and you're ready to go in February when the sap starts flowing.
Here's a link to how we tap our trees and where we get our supplies. Maple tapping is growing in popularity again and you may be able to find supplies at your local farm store or hardware store. Ask around.
Here's how we manage the fire on boiling day.
Here's more about the maple syrup itself.
Wednesday, March 26, 2014
Maple Syrup

It's a pretty color this year.
Monday, March 17, 2014
Sap Runneth
 One of the only things to get me through this winter has been the now steady drip, drip, drip of sap into the sap bags. We're getting a bit more than a gallon a day from each tree as long as the temps go below freezing at night. Some days, we get more.
 It's the freeze/thaw cycle that pumps the sap through the tree.

I let the sap bag get about 1/3 full and then empty it. We've had it spill because it gets so full and I don't want to lose a single drop. This week I've been emptying a couple of times a day - and one day we emptied three times. We got close to 2 gallons that day.
I'm so looking forward to the boil.
Monday, January 6, 2014
Thinking About Syrup

This is the time of year to start planning for maple syrup season. You need taps and collectors. We use metal taps and these awesome syrup bags. They last for several seasons.
Here's a post describing how we tap our trees and where we get our stuff.
We'll start actually tapping the trees late this month or at the beginning of February, collect all month, then do our boil at the beginning of March.
Wednesday, March 13, 2013
Maple Boil 2013


I confess that one of my favorite days of the year is maple boil day. I get to spend the whole day outside. It smells divine. There's a fire to warm me up when I get chilly. There is an unlimited amount of tea made with hot maple sap.
It's a day spent sitting in front of the fire snuggled in a blanket with a book and a cup of tea.
And it's a day spent hauling wood and sap buckets. And moving the sap from pan to pan. And taking pictures of the whole process for posterity.
 Tea
TeaIf you're going to boil sap, then you have to try some tea made with it. I like to use sap that's boiled down for an hour or so in the pot, but isn't too sweet yet. Herbal teas like peach are our all time favorites for maple boiling day and we go through a lot of it.
Fire
We boil in our fire pit. Our fire pit that sits just outside off our patio.
Our fire pit that I completely dismantled in the fall so that we could dig it level and pour a slab under it.
We did dig it level, but then it got too cold to pour the slab, so it sat in piles of bricks and blocks on the patio until the other day.
When Lily and I remantled it.
Being that this is mud season and all, the place where we put it was really muddy. Which is a problem for building fires and keeping them lighted.
Also, keeping the fire pit blocks from sinking to China.
 So Eric laid an 8x4 piece of plywood down on the mud and Lily and I laid bricks on the plywood and then built the fire pit on the bricks, on the plywood and prayed it wouldn't burn.
It didn't burn. Too much wet underneath the plywood and the bricks insulated the bottom plenty.
This year I built the sides higher so they'd surround the pans and heat things more efficiently. It worked like a charm. This was the best boil ever.
I got up early on Saturday and built a glorious fire in my glorious fire pit and boiled and boiled and boiled. We boiled 35 gallons [8 buckets, 4-5 gallons each] in 12 hours. Not super efficient, but pretty good. That'll yeild us about a gallon of syrup when we're all done. [Plus, the season isn't over yet and we may be able to get a few more buckets of sap off our tree.]
Which brings me to this little reminder. You get 1 gallon of syrup for every 40 gallons or so of sap. This means that you have to boil off 39 gallons of water. Don't try to boil sap in your house. You do not want 39 gallons of water vapor in your house. A friend tried it and short circuited the electric in his kitchen. Don't go there.
That said, I often finish the syrup in the house, where I can watch it better. We boil it down almost completely outside, then bring it in for the night and boil off the last gallon or so in the morning. I put the finished syrup in jars and then use my steam canner to seal them up.
Wood
Boiling all day takes a lot of wood and you want it to burn hot, so pick your wood carefully and plan ahead.
Use small dry pieces about the size of your forearm or smaller. You want lots of surface area for burning. In addition, I put larger pieces on either side to keep the sides a bit cooler [where we're standing and stirring] and to make great coals for cooking on later.
The fire will need constant supervision to maintain a rolling boil in your pans. Keep adding wood.
Pans
 I use a huge turkey roasting pan that I got for $12 at Goodwill to boil in. Each part hold 3 gallons. I fill them both up with sap and as it cooks down, I pour the stuff from the right pan into the left pan. The stuff in the left pan gets darker and darker, thicker and thicker. I add new sap only to the right pan.
See that big 3 gallon pot up behind the roasting pans? [Goodwill $6] That pot catches a lot of heat from the fire and is an excellent place to pre-warm the sap before it goes into the big pan on the fire. Prewarming is not necessary, but sure helps speed things up when you have big ice blocks in the sap buckets.
I use a 4 cup glass measuring cup to move the sap from pan to pan and I use assorted ladles when I need them. I keep a small strainer [the size that fits atop a wide mouth jar] close by to fish large pieces of ash and bugs out.
Boiling sap over an open fire this way is pretty messy. Ash gets everywhere. The occasional bug will fly in. The pans will be covered, covered!, with soot and have to be scrubbed two or three times to get clean again.
It's worth it. There is nothing like the smell and taste of your own maple syrup.
Monday, February 4, 2013
Maple Syrup Time

You can tap any kind of maple, but sugar maples give you the best syrup.
Here's a link to a basic How To Tap.
If a tree is big enough, you can put more than one tap in it. If the diameter is 12-20 inches, then 1 tap; 21-27 inches, two taps; greater than 27 inches, three taps. That's diameter, not circumference.
If you've tapped the tree before, you need to put your taps in a new spot. These two articles suggest only 2 inches over and up: Here and Here. More conservation minded folks suggest moving the tap at least 6 inches over and 4 inches up.
Want to know how the whole sap thing works in the tree? Here's a link.
 Here's a link to a post on how we boil the sap down. We boil over an open fire most of the time, without the fancy arch. Small pieces of wood make hot fires, but you literally burn through a lot of wood. Shoot for a lot of wood the size of your forearm with some big logs in there around the edges to hold the heat.
There are other links to great information in those two posts, so make sure to check them out.
Thursday, January 24, 2013
Maple Glazed Pecans

Maple Glazed Pecans
www.rurification.com
2-3 cups pecans
2 Tablespoons butter
1/2 cup maple syrup
3/4 cup sugar
Roast the pecans on a baking sheet for 10 minutes at 350 degrees. Let them cool while you're making the glaze.
Put the butter and syrup in a medium pan and bring to boil. Boil for 2 minutes. Reduce heat to medium low and add the nuts. Stir to coat the nuts. Add the sugar. Stir to coat. Spread them out to finish cooling and dry a bit.
Wednesday, June 13, 2012
Spiced Peaches, Part 3: Peach Maple Cardamom Jam
 This is the third installment of Not Your Grandma's Spiced Peaches.
 This Peach Maple Cardamom Jam is one of those rare creations in life where the whole is much, much more incredible than the sum of the parts - even if those parts are pretty darned amazing to start with.
Food of the Gods.
Plus! I didn't use white sugar - only our homemade maple syrup. Bonus points!
This is a jam that is fabulous on biscuits, but would be phenomenal as a filling in cakes or as an ice cream topping when you want something that's a bit more exotic than plain peach.
Peach Maple Cardamom Jam
- 3 cups chopped peaches
- 1 Tablespoon lemon juice
- 1/3 cup Dutch Jell All Natural Lite pectin [or 3 Tablespoons Ball Low Sugar Pectin]
- 1 1/2 cups maple syrup
- 1/4 tsp cardamom
Note: I picked up the Dutch Jell All Natural Lite pectin at my local Amish store [Freedom Country Store in Freedom, Indiana]. I like that it comes in bulk. It gels very well - almost too well. I'm going to use it with other fruit and let you know how I feel about it later in the season.
Sunday, February 26, 2012
Boiling Sap

We've been collecing maple sap for a few weeks now. The flavor changes as the buds form on the twigs, and the syrup isn't as good. The silver maples have started to bud, so we stopped collecting that sap.


It's time to start boiling. Last year we had a fancier set up that our friend, Mike put together. This year, Mike has his arch at the Daisy Garten Farmstead so he can demo the boiling, so we're using a somewhat lower tech system.
I got three really big pots [probably a total of $20 for all three at Goodwill] and I built a really hot fire in our firepit.
To start, I filled them all with sap - the three pots together hold about 10 gallons of sap. As they boiled down, I transferred the syrup from the blue pot on the left, to the blue pot on the right, and from the blue pot on the right to the tall pot in the back. At the end of the day, all the boiled down syrup was in the tall pot and I brought it inside to finish boiling it off.
 The pots sit on grill racks that are set on two heavy iron bars. The system worked fablously until I noticed that the grill racks were sagging from the very hot fire. I rearranged things a bit - very carefully! so that the bars were closer togther and I added a second rack under the left side. The last thing I wanted to happen was for all my syrup to spill into the fire because the rack broke. It worked fine for the rest of the boiling. No broken racks, no spilled syrup.
A couple of things to note if you're planning on boiling sap yourself.
- You're going to need strong racks and a very hot fire.
- To get a hot fire, you need a lot of smaller wood in an open arrangement in the center of the fire - think teepee. Small wood = the size of your forearm.
- Surround the smaller wood with larger pieces of wood around the outside. That forces the heat to the center were the pots are. As the big wood burns down, you can move it to the center and put more big wood where it was. Big wood = the size of your upper arm.
- Use a ladle to move the sap from pan to pan. It will pick up ash from the fire, so as you move the syrup to the next pot, pour it through a strainer. That takes out a lot of ash.
Sunday, November 13, 2011
Pear Maple Jam

Pear Maple Jam
- 6 cups cooked pears [6 fresh pears]
- 1 Tablespoon lemon juice
- 3 Tablespoons Ball Low Sugar Pectin
- 3 cups sugar
- 1/4 cup real maple syrup
Cook the pears, if you haven't already. Yes, you need to peel and core them.
Add the lemon juice and pectin to the cooked pears, stirring constantly if the pears are still hot. You don't want pectin clumps!
Heat to a hard boil. A really, really hard boil. It matters. It should be a raging boil even when you're stirring energetically.
Keep it at a hard boil for 1 minute.
Add sugar and maple syrup. Return to a really, really hard boil. Boil hard for 1 minute.
That's it! Ladle into jars and process for canning.
Troubleshooting:
If you can't get fresh pears, use canned ones. [I'd use 3 small cans or 2 larger ones. Don't worry about being exact. It'll be close enough. Really.] Try to find some without sugar.
If you have canned pears in syrup [even light syrup], then DON'T add the pectin to the pears.
In a small saucepan, dissolve the pectin in 1 1/2 cups of water. Boil it hard for 1 minute! [It won't take long.]
Put the pears and syrup in a large pot and mash them some. Then add the pectin goo to the pears.
Add the sugar MINUS 1/2 cup or so [minus 1 cup if they were in heavy syrup] - there's already some sugar in the canned pear syrup, so you don't need to add as much now.
Boil it all hard for 1 minute. Ladle into jars and process for canning.
Sunday, July 3, 2011
Peach Maple Jam
 We're still working on using up those peaches and of course, summer is when rural mom's heart turns to ... jam.
But you knew that already, didn't you.
I love peach jam, but this year I wanted to do something a little different with it. As I was looking around to see what might pair nicely with our peaches, I spied some of our home-made maple syrup.
He-LLO! I think we have a winner!
Mmmmmmm!
I played around and tried a couple of different versions. Eric and I had different opinions on the best version so I wrote them both up and you can pick the one you like better. I like the light version, Eric likes the dark version.
Peach Maple Jam Light: This has a subtle maple flavor. The peaches are the star of this jam.
 |
| Peach Maple Jam Light on vanilla wafers with a blueberry. |
- 4 Cups cut up peaches
- 1 T lemon juice
- 3 T Ball pectin [or 1 pkg]
- 1 Cup maple syrup
- 1/2 Cup sugar
Puree the peaches. Put the peach puree, lemon juice and pectin in your favorite jam pot and boil it. Stir frequently. After it reaches a hard boil [that you can't stir down, when stirring constantly], continue stirring for 1 minute.
Add maple syrup and sugar. Stir well. Return to hard boil. Hard boil for 1 minute.
Ladle into clean, hot jars. Process for canning. [10 minutes for pints and jelly jars].
Peach Maple Jam Dark: The maple and the peaches share the spotlight in this jam. This recipe really shows off good maple syrup. The chunks of peach really show up against the dark glaze.
Ingredients:
- 1/3 Cup water
- 3 Cups cut up peaches
- 1 T lemon juice
- 3 T Ball pectin [or 1 pkg]
- 1/2 Cup maple syrup
- 1/2 Cup brown sugar
Put the water, peaches, lemon juice and pectin in your favorite jam pot and boil it. Stir frequently. After it reaches a hard boil [that you can't stir down, when stirring constantly], continue stirring for 1 minute.
Add maple syrup and sugar. Stir well. Return to hard boil. Hard boil for 1 minute.
Ladle into clean, hot jars. Process for canning. [10 minutes for pints and jelly jars].
Notes:
Remember, not all pectins are the same. Follow the directions for your pectin. If you need help converting the recipe, contact me. robin at morenna dot com. I'm happy to help out.
Monday, March 21, 2011
We're famous! Sort of...
This story was on the front page of our local paper today. No, our kids names really aren't K1 and K2. We're still negotiating the internet vs. privacy stuff.
PATHWAYS - Herald Times, Bloomington, IN
Syrup from the fog
By Monty Howell 331-4380 | pathways@heraldt.com
March 21, 2011
For 10 days, the Jenness family piled and split firewood to feed a homemade syrup arch. Boiling maple sap removes the water and fills the air with a sweet-smelling fog that warms the body in the cool night air, like no ordinary campfire can. The boiling usually ran the course of eight hours per day.
The cold nights and warming sun brought out the spring peepers in a chorus in front of their rural farmhouse near Newark.
The sap was flowing up the trunks of the maple trees as well. But this sap was carried here from about 20 miles away, from the Hinkle-Garton Farmstead on East 10th Street inBloomington . Those trees delivered about 35 gallons per day during the best flow recently.
Making maple syrup takes time, heat, a lot of effort and about 43 gallons of sap for one gallon of syrup. This was a good-weather day, without rain, and the firebox made enough heat to evaporate off about seven gallons per hour.
This was a group effort shared by K1, 15, sister K2, 12, father Eric and mother Robin Edmundson. The family had the aid of Michael Bell, who made the arch and gathered the raw maple sap.
Bell periodically drew up several ounces from the final stage using a hydrometer to measure the specific gravity of the boiling sap. This indicates the sugar content of the final stage, which becomes syrup when it is 66 percent sugar. Sap normally flows at 2 percent sugar. The rest is mostly water.
This day had a campfire atmosphere near the back door of the busy household. K2 sat just out of the maple fog with a telescope, ready for the clear night sky. The sisters maintain a strict study routine at home, but their days can be broken up into real-life science experiments, such as how syrup is made.
The family enjoys knowing where their food comes from. They try to be as self- sufficient as practicality allows and grow much of their food at home. The family knows where this maple syrup was made and what went into making it. For their share of the work, they netted three gallons of dark amber syrup. They report its flavor is a 10 on a 0-to-10 scale, with 10 being the best possible.
PATHWAYS - Herald Times, Bloomington, IN
Syrup from the fog
By Monty Howell 331-4380 | pathways@heraldt.com
March 21, 2011
 |
| K1, 15, stirs maple sap, moving it along to the right in a maple syrup arch, as it simmers and boils down to becoming maple syrup at the end. This Greene County family pitched in with friends for 10 days of loading firewood and pouring sap into the homemade boiling system, or arch. K1 and her family netted 3 gallons for their time and trouble. |
For 10 days, the Jenness family piled and split firewood to feed a homemade syrup arch. Boiling maple sap removes the water and fills the air with a sweet-smelling fog that warms the body in the cool night air, like no ordinary campfire can. The boiling usually ran the course of eight hours per day.
The cold nights and warming sun brought out the spring peepers in a chorus in front of their rural farmhouse near Newark.
The sap was flowing up the trunks of the maple trees as well. But this sap was carried here from about 20 miles away, from the Hinkle-Garton Farmstead on East 10th Street in
Making maple syrup takes time, heat, a lot of effort and about 43 gallons of sap for one gallon of syrup. This was a good-weather day, without rain, and the firebox made enough heat to evaporate off about seven gallons per hour.
This was a group effort shared by K1, 15, sister K2, 12, father Eric and mother Robin Edmundson. The family had the aid of Michael Bell, who made the arch and gathered the raw maple sap.
Bell periodically drew up several ounces from the final stage using a hydrometer to measure the specific gravity of the boiling sap. This indicates the sugar content of the final stage, which becomes syrup when it is 66 percent sugar. Sap normally flows at 2 percent sugar. The rest is mostly water.
This day had a campfire atmosphere near the back door of the busy household. K2 sat just out of the maple fog with a telescope, ready for the clear night sky. The sisters maintain a strict study routine at home, but their days can be broken up into real-life science experiments, such as how syrup is made.
The family enjoys knowing where their food comes from. They try to be as self- sufficient as practicality allows and grow much of their food at home. The family knows where this maple syrup was made and what went into making it. For their share of the work, they netted three gallons of dark amber syrup. They report its flavor is a 10 on a 0-to-10 scale, with 10 being the best possible.
Saturday, March 5, 2011
More Maple
 |
| Just starting to steam |
We have a temporary abundance of liquid from one end to the other of the Maple Sap to Maple Syrup continuum and we've discovered a couple of delicious ways to enjoy it. In the photo above, the new sap goes into the far left pan, #1, and as it cooks down, we ladle it into the pan to the right. The far right, #4, pan has the most advanced syrup that is almost finished. We've discovered that it's pretty good at every stage.
Stage 1: A friend who grew up in Maine told me that she used to drink the sap like water when she was a kid. You can do that. It's sweet, but not too sweet. It'd probably be good in Kool-Aid. Because you need an excuse to buy Kool-Aid.
Stage 2-3: Now, the stuff in the middle - beyond sap, but nowhere near syrup makes fabulous tea. We just ladled the stuff right out of the pan in the arch and into a mug with a teabag. It was Mike's idea, and he said he got it from a Maple Festival in Medora, Indiana. Yum! We tried it in Celestial Seasonings Almond Sunset, which they don't make any more [We've had it for scary long], but they should because it was fabulous this way. We also tried it in Bengal Spice, Peach and Cranberry Apple Zinger. Dee-Lish. I'm thinking it would be good with their Honey Vanilla Chamomile, too. We mixed Stage 2 and a bit of Stage 3 for the best tea.
Stage 3-4: I like it as syrup here because it doesn't taste too dark yet. The experts say that it's not safe to put up this way because the sugar content is too low. It's fine to eat fresh and we do.
Stage 4: Thick, sweet, dark syrup. Best enjoyed on French Toast. Duh.
Sunday, February 27, 2011
Making Maple Syrup
It's sap boiling time! Time to gather wood, squeeze the 3 inches of rain we've had in the past week out of it, light those fires and boil some sap. And we're doing it today!
 This what we start with - plain old maple sap right out of the tree.

This is our goal - maple syrup. It takes 42 gallons of sap for a gallon of syrup. You're shooting for 66% sugar content.
 Eric's on the left and Mike Bell is on the right. Mike designed this arch ['arch' is what you call a sap boiling unit.] from a filing cabinet. He used a barrel stove kit [available at Menard's] and put a door on one end and a chimney on the other. The left side is where the fire goes. They built up the floor to ascend toward the chimney - pushing the heat up to where the sap pans go.

The chimney end.

You can see in the center of the photo the grate where the fire goes. They're using fire brick to line the ascent to the chimney at the other end.

The assembled arch with the pans in place. The chimney is at the left of this photo.

The fire end, packed and ready to burn.

This is Mike using a propane torch to dry out the wood and get the fire going. [It's been raining and raining and raining here....]

We heart fire!

Sap in the pans, ready to go. The darker stuff on the right has been boiled down some already. We put the new sap in the left and as things boil down, we move the sap to the right. The pan on the right will be syrup first.

Boil, boil, boil!

This is our starter pan. We heat the new sap up on this fire first before we put it in the pans. It speeds things up.
At the end of the day, we take the darkest stuff inside and finish boiling it on the stove. This is so fresh that it isn't filtered yet. Filter through cheese cloth or other food filters to get the ash out. It's prettier that way.


This is our goal - maple syrup. It takes 42 gallons of sap for a gallon of syrup. You're shooting for 66% sugar content.
Here's the unit we're using this year to boil.


The chimney end.

You can see in the center of the photo the grate where the fire goes. They're using fire brick to line the ascent to the chimney at the other end.

The assembled arch with the pans in place. The chimney is at the left of this photo.

The fire end, packed and ready to burn.

This is Mike using a propane torch to dry out the wood and get the fire going. [It's been raining and raining and raining here....]

We heart fire!
Sap in the pans, ready to go. The darker stuff on the right has been boiled down some already. We put the new sap in the left and as things boil down, we move the sap to the right. The pan on the right will be syrup first.

Boil, boil, boil!

This is our starter pan. We heat the new sap up on this fire first before we put it in the pans. It speeds things up.
At the end of the day, we take the darkest stuff inside and finish boiling it on the stove. This is so fresh that it isn't filtered yet. Filter through cheese cloth or other food filters to get the ash out. It's prettier that way.
Sunday, February 13, 2011
Maple Syrup: Tapping the trees
We made our first maple syrup from our own trees last year and discovered that it's not hard at all.
What you need: drill bit, taps, collection system [bag, bucket & tubes, etc depending on how you want to do it. We use bags.], maple tree at least 10 inches diameter at 4.5 feet off the ground. We got the taps and collection system from Leader Evaporator Company. They've got tons of stuff for all types of collection and evaporation and you don't have to spend a fortune.
 1. Use the same size drill bit as taps you have. [We have 7/16 inch taps] Drill 1.5 inches into the tree. Wet maple is not easy to drill into so Eric used a smaller bit first, then used the big one to finish it.
 2 . Put the tap in so the hook is at the top. You can use a hammer to tap it into place. We have 7/16 inch taps from Leader.
3. The bags and bag holder. The sack holder comes in two parts: a ring and a holder. Notice the hole on the side of the bag holder. That's where you'll put it all on the tap on the tree.
4. Put the bag on the ring from the inside and then fold the edges down over the outside of the ring.

5. Slide the ring inside the holder; make sure the ring is secure.
 6. Put the hole in the holder over the tap. The hook on the tap will keep it all there, even when the bag is full of sap.
7. Gathering: This time of year the sap runs fast. Keep an eye on it. We empty everything into food grade buckets in the morning and in the evening. You can keep the full buckets outside out of the sun in cool weather until you're ready to boil, but they can sour, so boil as quickly as you can. The ratio of sap to syrup is 40:1, so one five-gallon bucket will give you about a pint of syrup. We're going to shoot for a whole gallon of syrup this year. That'll be about 40 gallons of sap - 8 buckets.
For more great info on how to tap your trees, check out the University of Maine's page. In a week or two I'll post on the evaporation process; it's an outdoor, open fire activity. [You don't want all that water vapor in your house.]
What you need: drill bit, taps, collection system [bag, bucket & tubes, etc depending on how you want to do it. We use bags.], maple tree at least 10 inches diameter at 4.5 feet off the ground. We got the taps and collection system from Leader Evaporator Company. They've got tons of stuff for all types of collection and evaporation and you don't have to spend a fortune.

 2 . Put the tap in so the hook is at the top. You can use a hammer to tap it into place. We have 7/16 inch taps from Leader.
3. The bags and bag holder. The sack holder comes in two parts: a ring and a holder. Notice the hole on the side of the bag holder. That's where you'll put it all on the tap on the tree.

4. Put the bag on the ring from the inside and then fold the edges down over the outside of the ring.

5. Slide the ring inside the holder; make sure the ring is secure.

7. Gathering: This time of year the sap runs fast. Keep an eye on it. We empty everything into food grade buckets in the morning and in the evening. You can keep the full buckets outside out of the sun in cool weather until you're ready to boil, but they can sour, so boil as quickly as you can. The ratio of sap to syrup is 40:1, so one five-gallon bucket will give you about a pint of syrup. We're going to shoot for a whole gallon of syrup this year. That'll be about 40 gallons of sap - 8 buckets.
For more great info on how to tap your trees, check out the University of Maine's page. In a week or two I'll post on the evaporation process; it's an outdoor, open fire activity. [You don't want all that water vapor in your house.]
Subscribe to:
Posts (Atom)
